
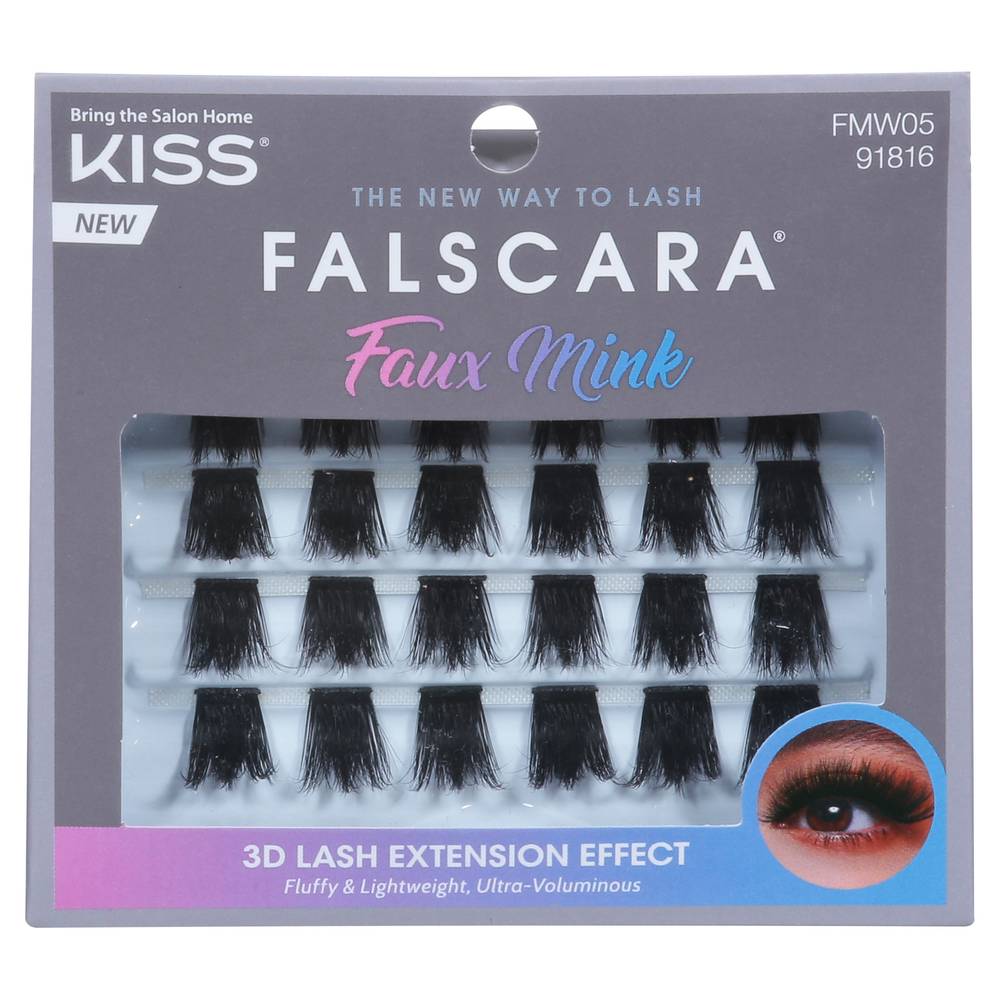
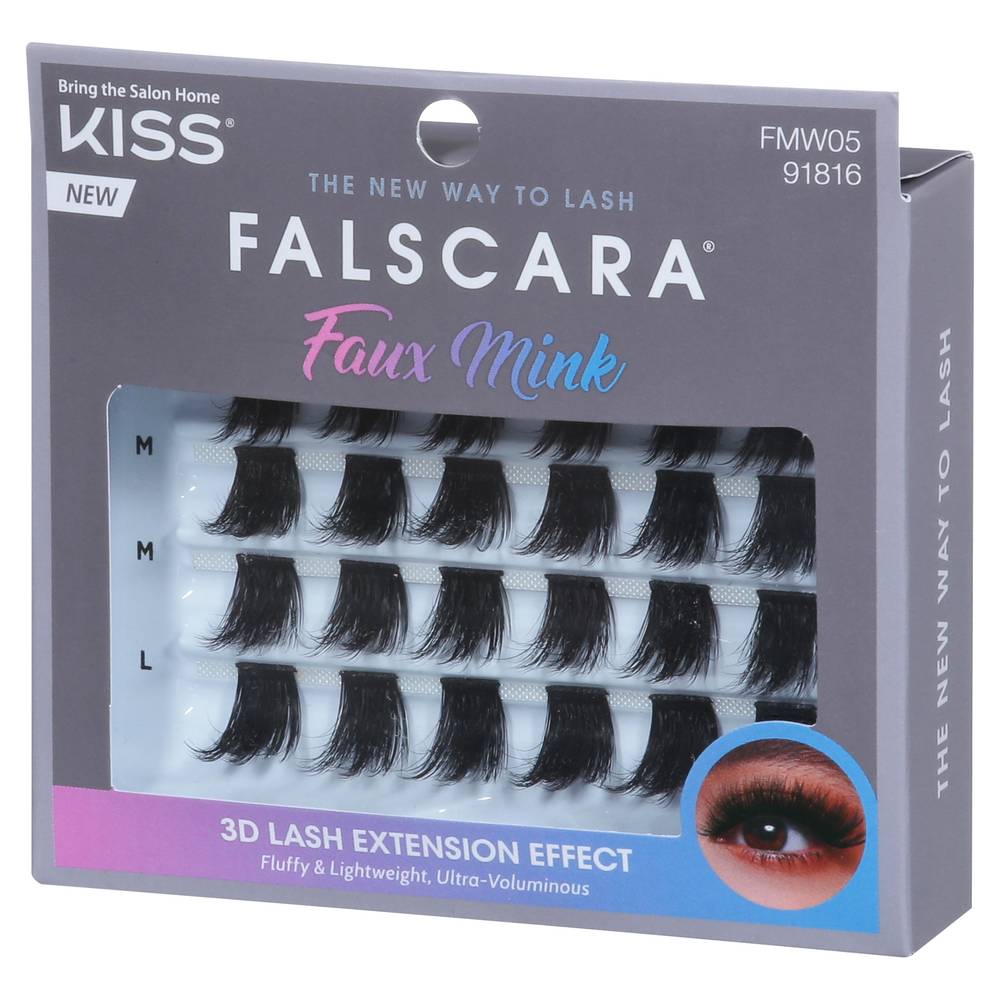
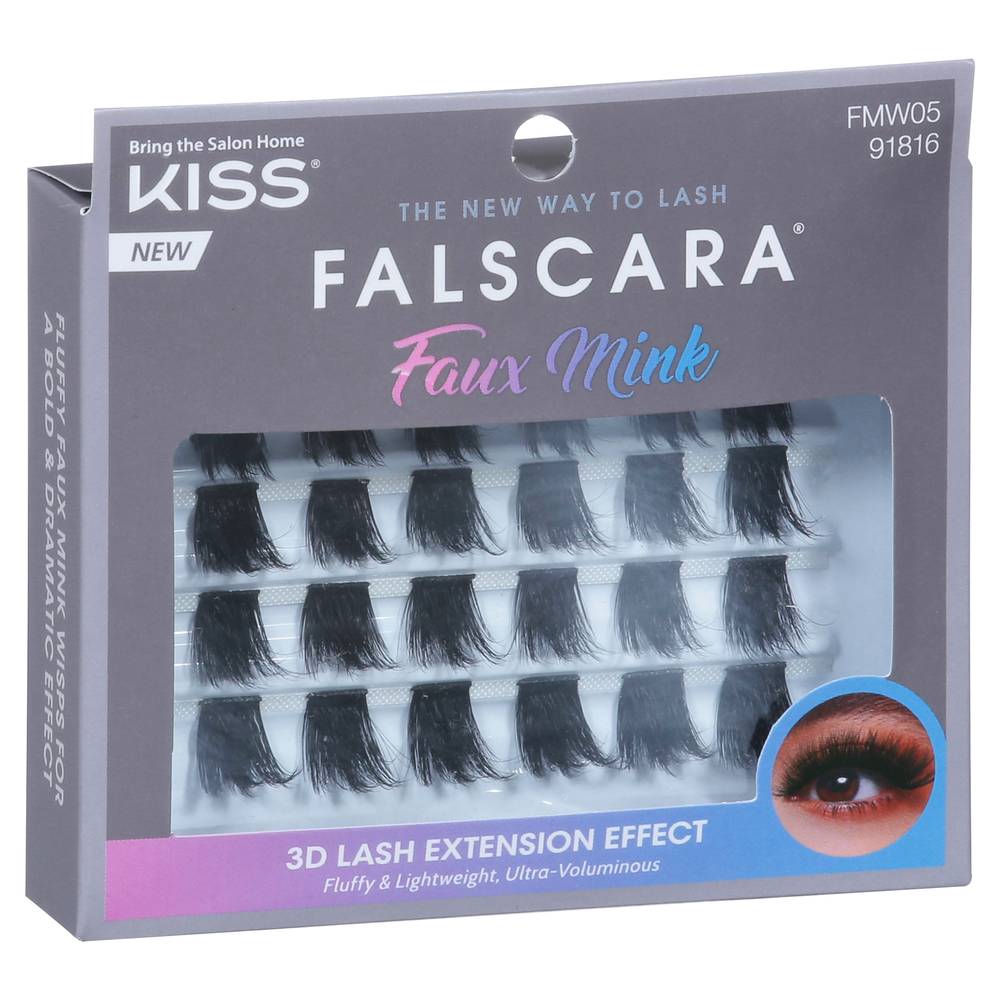


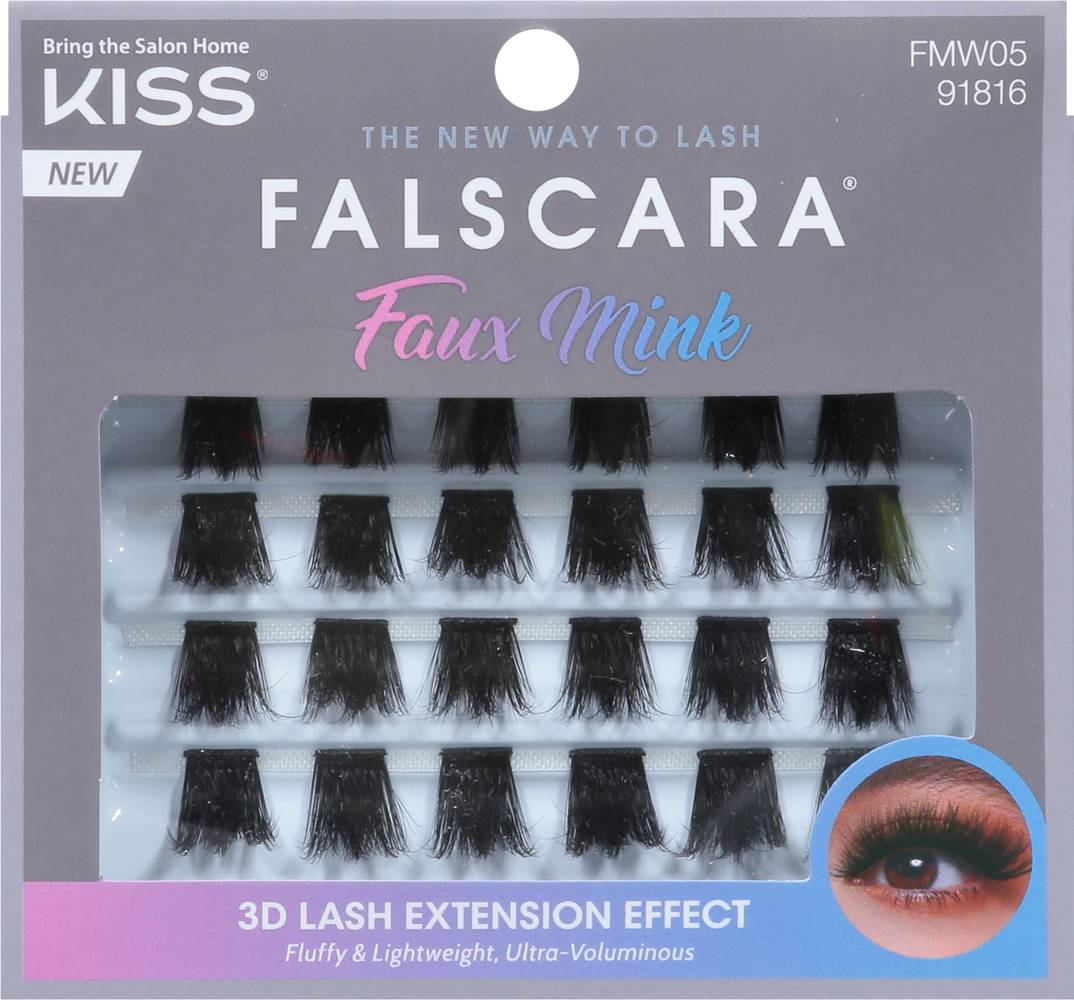


KISS Falscara 3d Faux Mink Lashes, Black
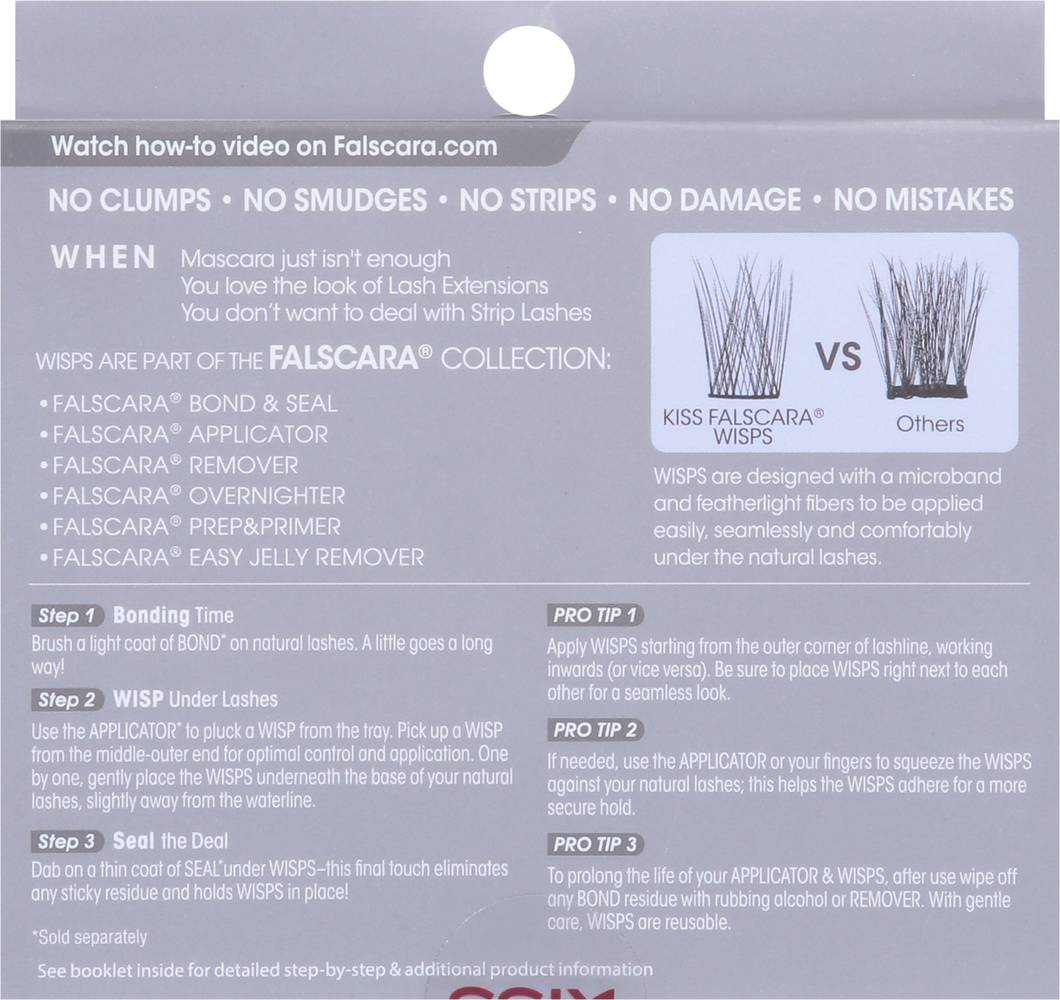
Kiss Falscara 3D Faux Mink Lashes offer a 3D lash extension effect with fluffy and lightweight fibers for a bold and dramatic look. Designed with a microband, these featherlight lashes can be applied seamlessly and comfortably beneath natural lashes, enhancing volume without clumps, smudges, or damage typically associated with traditional lash application methods. These lashes are made in Indonesia and provide an alternative to those seeking the appearance of lash extensions without the use of strip lashes. Color: Black
Ingredients: synthetic lash fibers
Step 1: bonding time: brush a light coat of bond on natural lashes. a little goes a long way! step 2: wisp under lashes: use the applicator (sold separately) to pluck a wisp from the tray. pick up a wisp from the middle-outer end for optimal control and application. one by one, gently place the wisps underneath the base of your natural lashes, slightly away from the waterline. step 3: seal the deal: dab on a thin coat of seal (sold separately) under wisps-this final touch eliminates any sticky residue and holds wisps in place! pro tip 1: apply wisps starting from the outer corner of lashline, working inwards (or vice versa). be sure to place wisps right next to each other for a seamless look. pro tip 2: if needed, use the applicator or your fingers to squeeze the wisps against your natural lashes; this helps the wisps adhere for a more secure hold. pro tip 3: to prolong the life of your applicator & wisps, after use wipe off any bond residue with rubbing alcohol or remover. with gentle care, wisps are reusable. see booklet inside for detailed step-by-step & additional product information. - directions: step 1: bonding time: brush a light coat of bond on natural lashes. a little goes a long way! step 2: wisp under lashes: use the applicator (sold separately) to pluck a wisp from the tray. pick up a wisp from the middle-outer end for optimal control and application. one by one, gently place the wisps underneath the base of your natural lashes, slightly away from the waterline. step 3: seal the deal: dab on a thin coat of seal (sold separately) under wisps-this final touch eliminates any sticky residue and holds wisps in place! pro tip 1: apply wisps starting from the outer corner of lashline, working inwards (or vice versa). be sure to place wisps right next to each other for a seamless look. pro tip 2: if needed, use the applicator or your fingers to squeeze the wisps against your natural lashes; this helps the wisps adhere for a more secure hold. pro tip 3: to prolong the life of your applicator & wisps, after use wipe off any bond residue with rubbing alcohol or remover. with gentle care, wisps are reusable. see booklet inside for detailed step-by-step & additional product information.
The information shown here may not be current, complete, or accurate. Always check the item's packaging for product information and warnings.
